


Using an Ultrasonic Cleaner for Braces the Right Way
Browse Volume:214 Classify:Support
Cleaning around braces isn’t just annoying—it’s one of the most important parts of orthodontic care. Bits of food and sticky plaque love to hide behind brackets and between wires, turning your smile’s transformation into a potential trap for cavities and gum inflammation. That’s why more and more people are turning to ultrasonic cleaners as part of their daily hygiene routine. But how exactly should they be used? And more importantly, can you use one safely on braces?
Because while the hum of an ultrasonic cleaner may sound high-tech, it’s how you use it that really matters.
Understanding What an Ultrasonic Braces Cleaner Does
Ultrasonic cleaners use high-frequency sound waves—usually around 40kHz—to create microscopic bubbles in a water-based solution. These bubbles form and collapse rapidly in a process called cavitation, which lifts away debris, bacteria, and other residues from the surface of objects.
For dental applications, these cleaners are often used to maintain clear aligners, plastic retainers, and removable orthodontic appliances. The benefit? They clean in places that manual brushing simply can’t reach—especially in those tiny ridges and curves where saliva and plaque settle.
But there’s a crucial distinction here. Most ultrasonic braces cleaners are not designed to clean fixed braces that are bonded directly to your teeth. Instead, they are best suited for removable appliances like trays, retainers or mouthguards. That doesn’t make them any less useful. It just means knowing your appliance and matching it with the right cleaning method is the key.
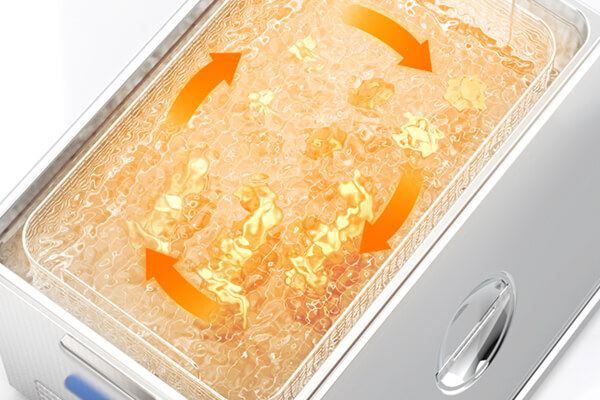
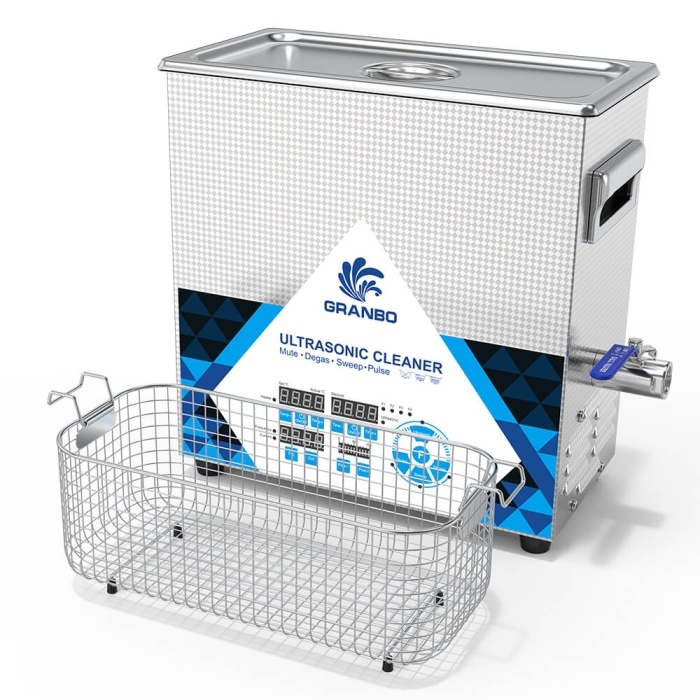
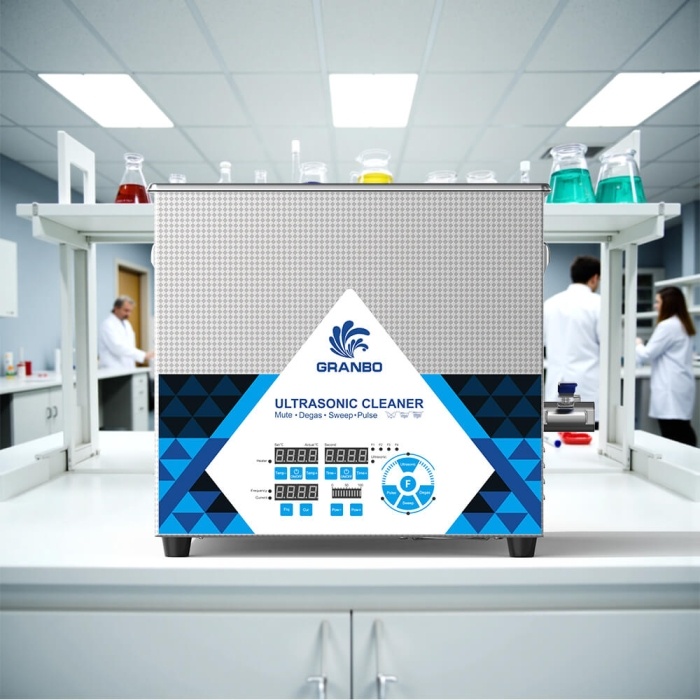
Ultrasonic cleaning machine in operation
Step-by-Step: How to Clean Removable Braces with an Ultrasonic Cleaner
Using an ultrasonic cleaner for your removable orthodontic gear isn’t complicated—but doing it right makes all the difference. Here’s how to go about it with care and precision:
Step 1: Choose the Right Cleaner
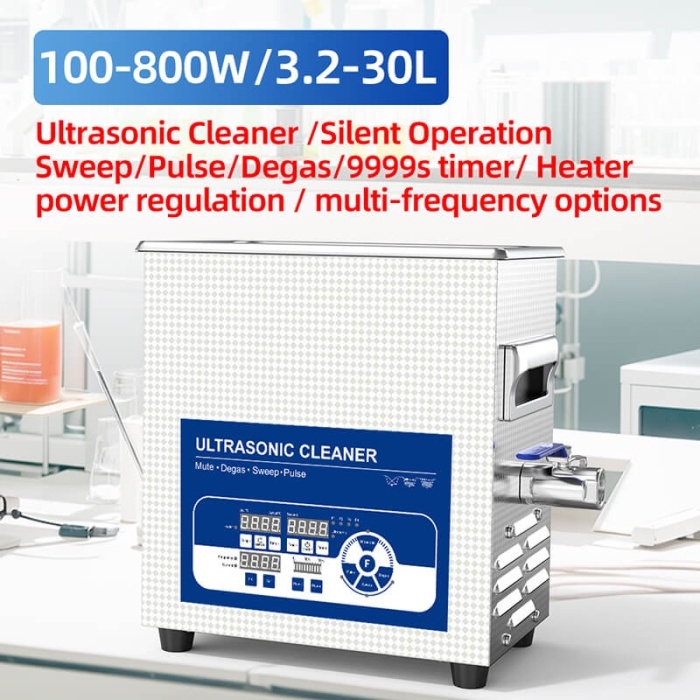
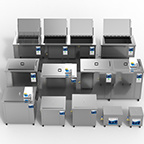
Go for a model designed with dental use in mind. Something like the Granbosonic GA008G works well—it features a 0.8L SUS304 stainless steel tank, 60W of ultrasonic power, and a digital timer adjustable from 1 to 30 minutes. Its 40kHz frequency is gentle enough for dental plastics but powerful enough to remove stuck-on grime.
Step 2: Add Water and Cleaning Solution
Fill the tank with clean water up to the indicated level. If your device allows it, add a small amount of ultrasonic-safe dental cleaning solution—never bleach or alcohol, which can damage the appliance.
Step 3: Place the Appliance in the Basket
Always use the basket provided to avoid direct contact between the appliance and the tank bottom. This prevents scratching and ensures a consistent cleaning wave pattern.
Step 4: Adjust Timer and Temperature
Set the timer for 5–10 minutes. Some cleaners offer heat settings—if yours does, keep it between 40°C and 50°C to avoid warping plastic materials.
Step 5: Rinse and Dry
Once the cycle finishes, remove the appliance with clean hands or tongs, rinse it thoroughly under cold running water, and let it air dry before putting it back in your mouth or case.
Doing this once per day—or even every few days—can significantly reduce bacterial buildup and extend the life of your appliance.
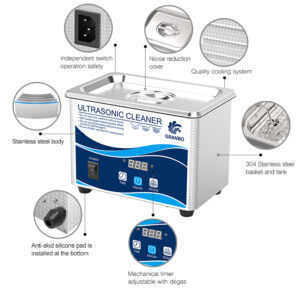
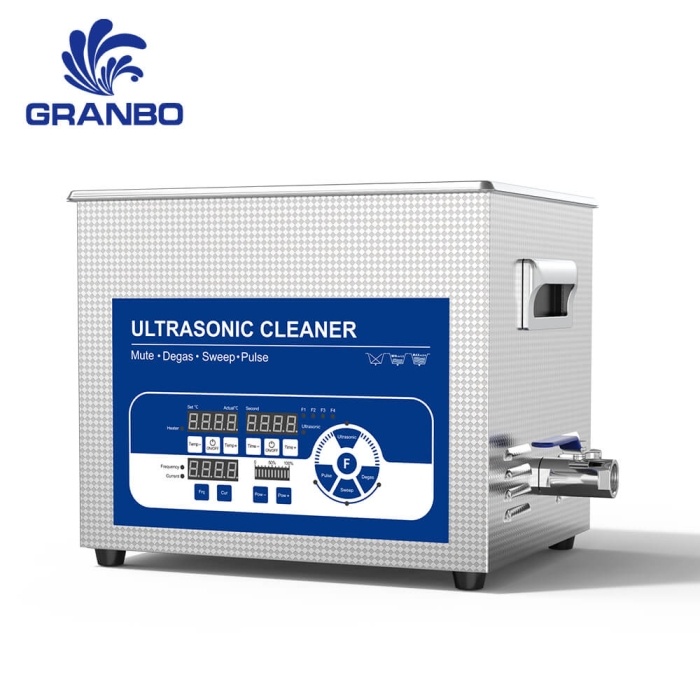
GA008G-Ultrasonic-cleaner
What About Fixed Braces? What You Should and Shouldn’t Do
It might be tempting to wonder: can you clean your fixed metal braces with an ultrasonic cleaner? Technically, no. The braces are attached to your teeth, and ultrasonic tank cleaning requires the object to be submerged in water—not something you want to try with your face. More importantly, the vibration and temperature from ultrasonic waves could damage the bonding that holds the brackets to your teeth.
If your goal is to clean around metal brackets and wires, stick with:
A soft-bristled brush and fluoride toothpaste
Interdental brushes or ortho-specific floss
Antibacterial mouthwash
Occasional in-clinic ultrasonic scaling (performed by a hygienist)
Trying to substitute these methods with a tank cleaner won’t help—and could actually delay your progress.
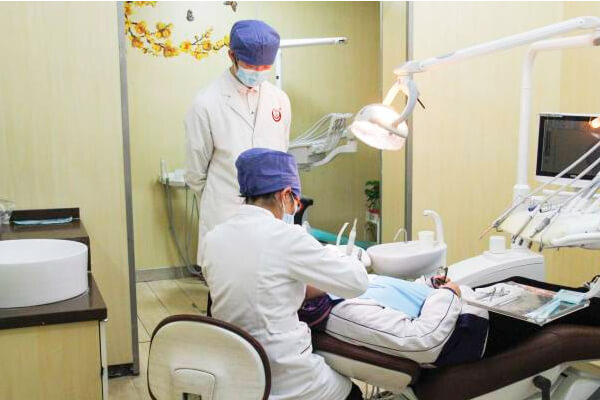
Dental treatment
Why Consistency and Care Matter More Than Gadgets
An ultrasonic cleaner is a tool—not a magic wand. Used properly, it can make your removable orthodontic appliance look and feel new. Used incorrectly, it can cause damage or give you a false sense of cleanliness while harmful bacteria linger in corners.
The real key is consistency. Cleaning every day—even if just with a soft brush and lukewarm water—prevents buildup and protects your enamel. The ultrasonic cleaner helps take things a step further, especially for those with busy schedules or higher hygiene needs (like teens in sports or adults drinking lots of coffee or wine).
When in doubt, ask your orthodontist if your appliance is suitable for ultrasonic cleaning. Many clinics even recommend them now as part of home care routines for Invisalign and retainers.

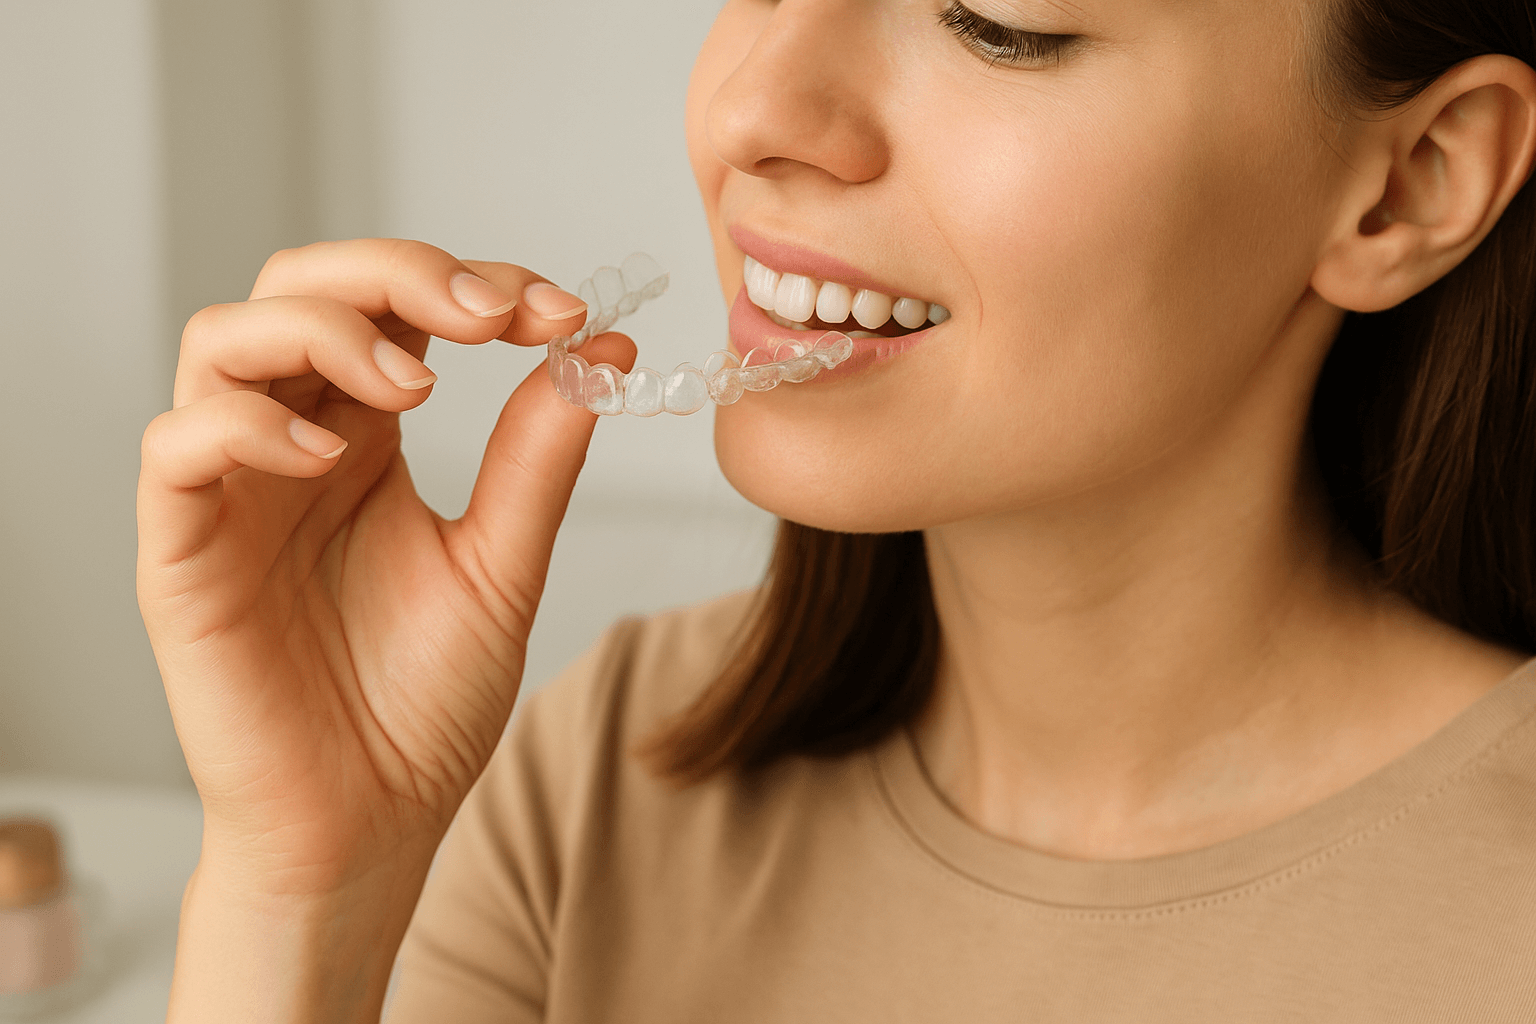
Braces
A Real Upgrade for Retainers, Aligners, and Night Guards
Not every piece of orthodontic gear is suited for ultrasonic cleaning, but for those that are—particularly clear aligners and plastic retainers—there’s no denying the benefits. Cleaners like the Granbosonic GA008G, with features like degas function, digital timing, and safe sonic frequencies, offer professional-grade results in a home-friendly form.
Just remember: clean appliances work better, smell better, and feel better. If you’ve ever pulled your retainer from its case and winced at the smell, it might be time to let ultrasonic cleaning join your hygiene routine—not as a gimmick, but as a smart way to make the most of the investment you’ve already made in your smile.
Braces